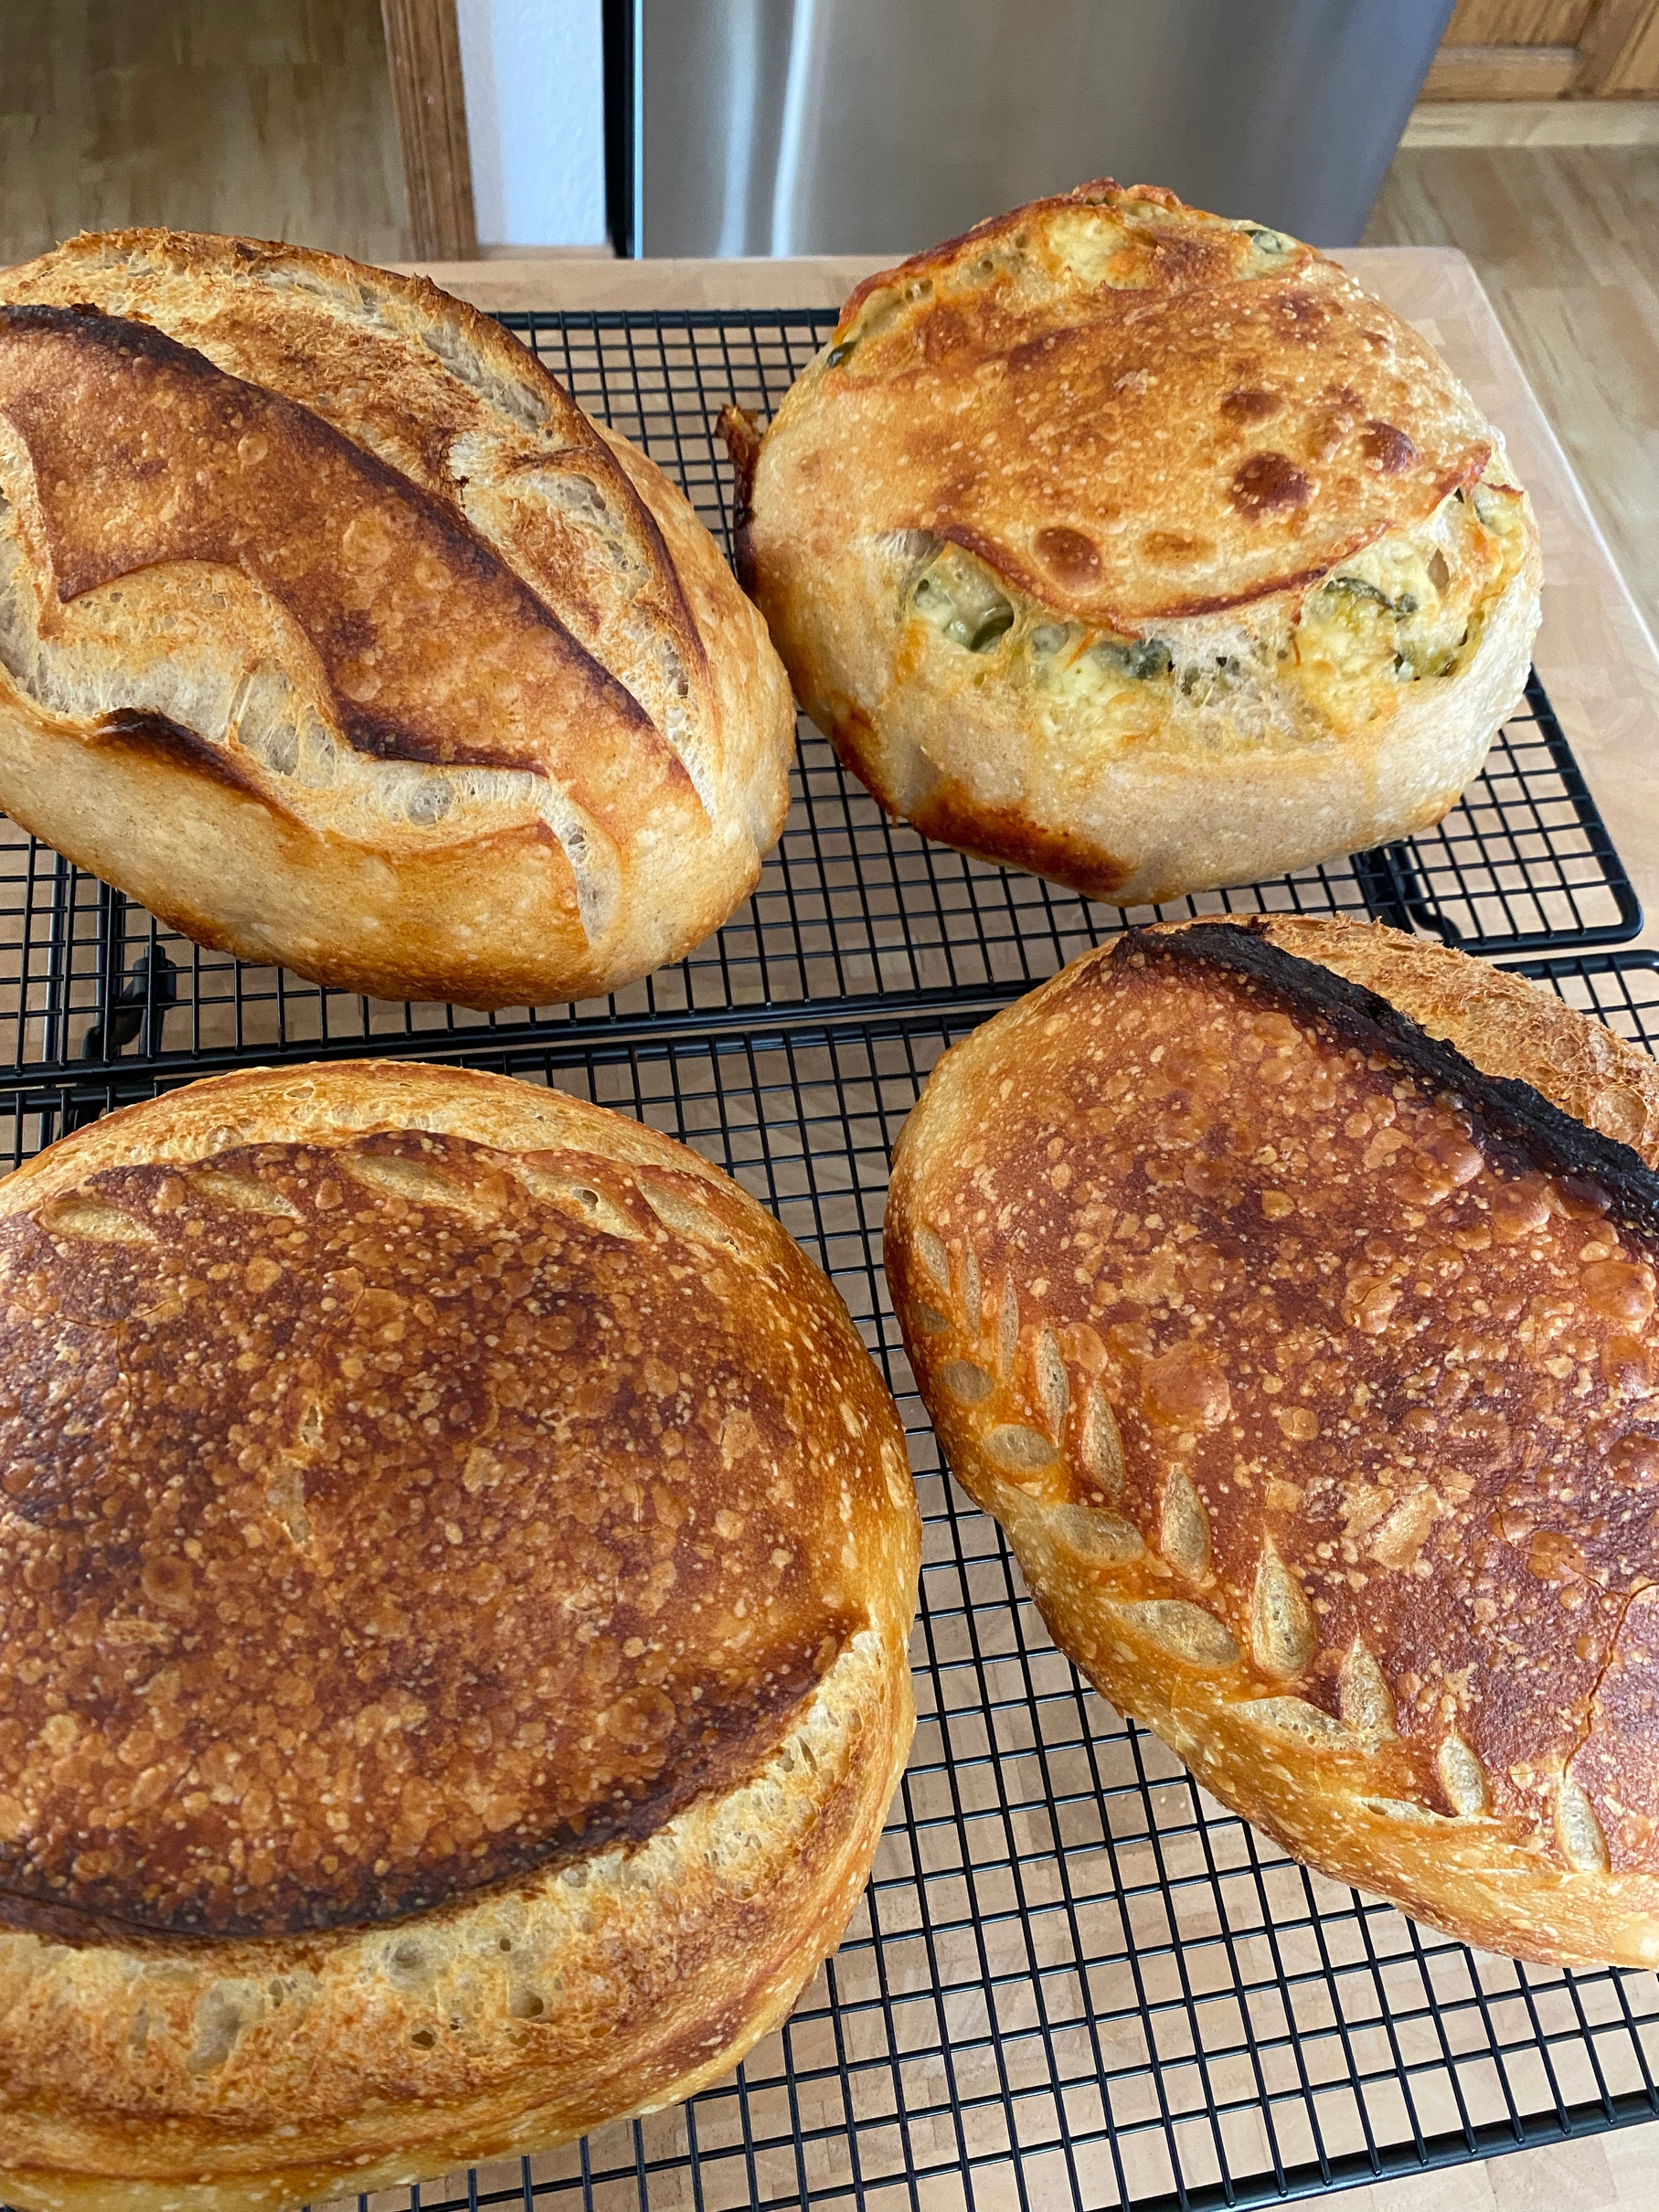
Spice by Jules
Sourdough bread, Cookies and more!
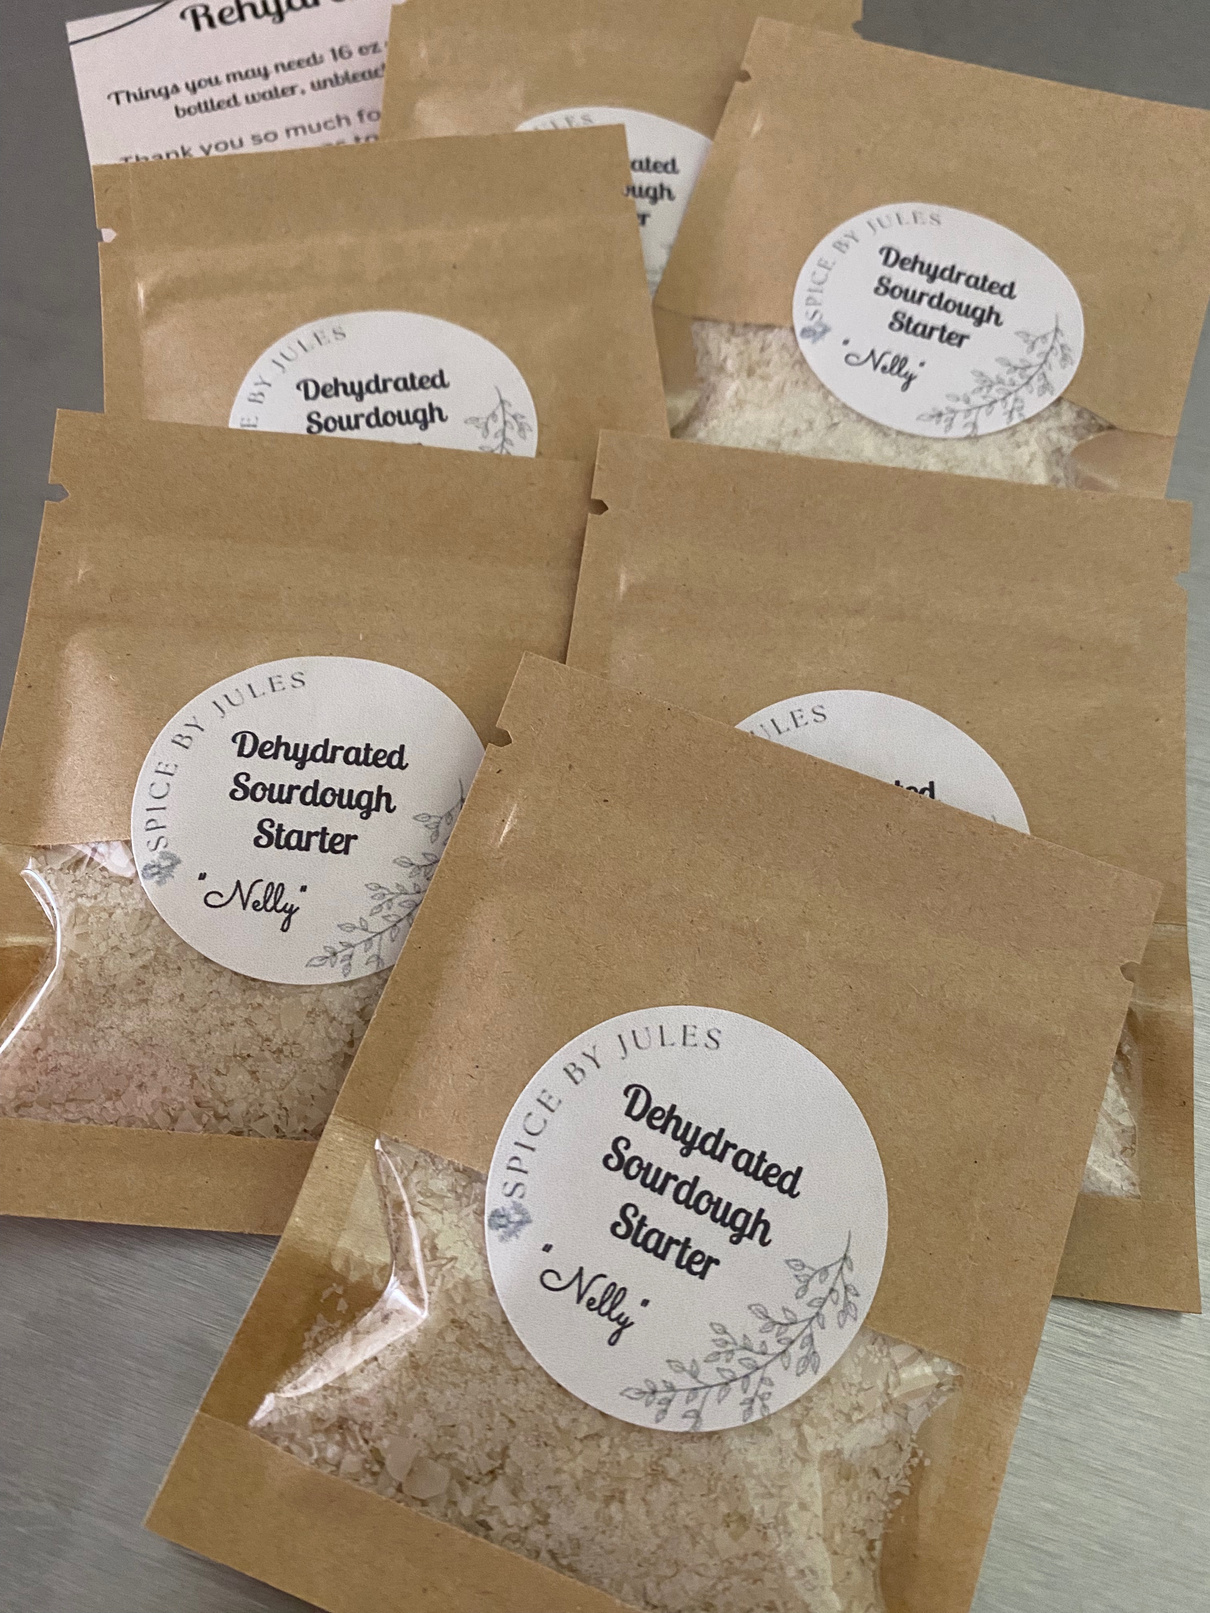
Dehydrated Sourdough Starter
I have a passion for helping people get started on their sourdough journey. Do you want to make sourdough bread but don’t want to make a starter from scratch?
This strong and healthy starter will have you ready to bake beautiful sourdough loaves in no time. Comes with one packet containing 10grams of dehydrated starter plus simple Rehydrating Instructions and help if you need it!
I am happy to answer any questions you have along the way.

About

Hi! I’m Julie
My journey to making sourdough bread began as a result of constantly getting asked “Do you make sourdough?” Soon after starting my home bakery and selling cakes and other goodies to my community I was being asked about sourdough so often that I felt it was time to teach myself how to make and keep a sourdough starter alive, and how to make delicious sourdough bread! I wanted to give my customers what they were asking for!! I didn’t realize how much I was going to love making sourdough. I truly love making bread, sharing bread with others and helping others begin their sourdough journey!
If that’s you too... let’s connect!
Rehydrating Nelly
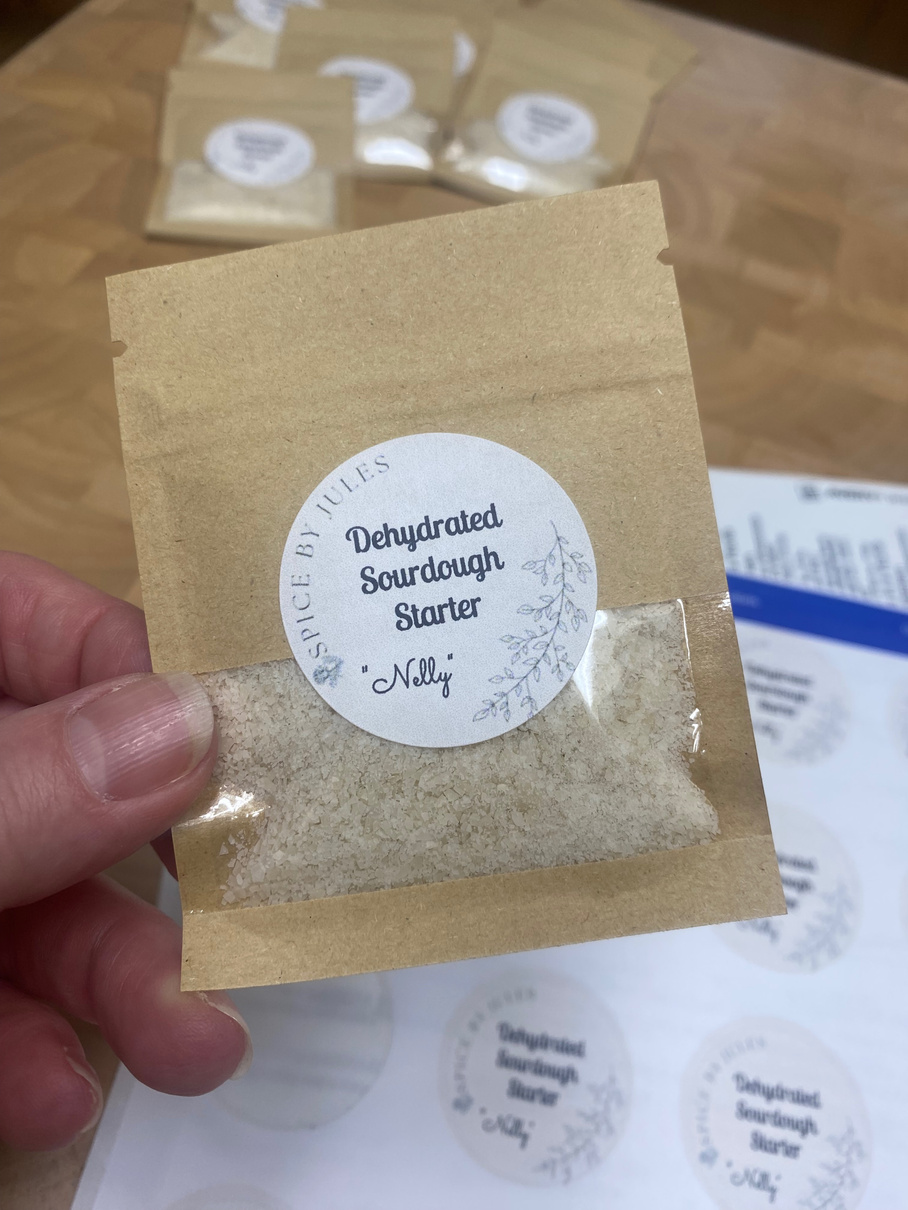
Thank you to those of you who have purchased my dehydrated sourdough starter “Nelly”! Here is all you need to know about getting her rehydrated and ready to bake some delicious bread.
A few things you may want to have to get started: 16oz glass jar, 32oz glass jar, filtered or bottled water, unbleached bread flour, kitchen scale.
DAY 1: Pour all 10g of dehydrated starter into a glass jar, add 20g of room temperature water and stir. Let sit for about 30 minutes. Now add 10g of unbleached bread flour. (I like the King Arthur brand). Stir until well combined. Cover the jar loosely and leave at room temperature for about 24 hours.
DAY 2: Now that your starter has sat for 24 hours, add 20g of bread flour and 20g of room temperature water to the jar. Stir until well combined. The consistency should be similar to a thick pancake batter. Cover loosely and let sit for another 24 hours.
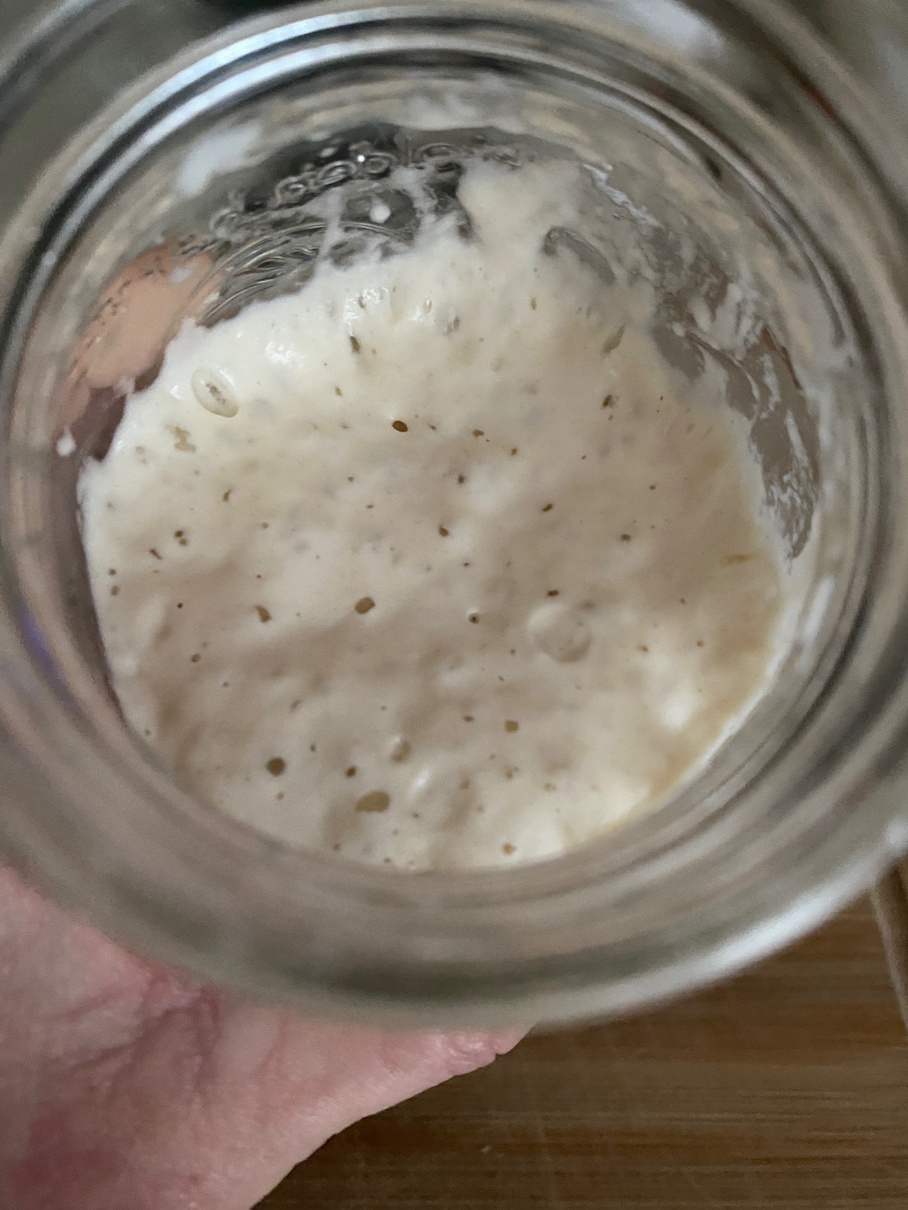
DAY 3: Repeat Day 2. You may now be seeing some activity with your starter, like bubbles, and it may even be rising and falling. I like to put a rubber band around my jar so I can see how far it rises.
DAY 4: Now it’s time for a bigger feed. You may want to move it to a bigger jar! Add 50g of water and 50g of bread flour to your starter. Stir well and cover loosely. Let sit for 24 hours.
DAY 5: Measure 50g of your starter into a new jar (discard the rest or use in recipes), add 50g of water and 50g of bread flour. Stir until well combined, cover loosely and let sit for 24 hours. Repeat this step daily until your starter is consistently doubling in size. (It is likely doing this already!) This means it is time to BAKE! Feed your starter daily to keep it alive! Now would also be a great time to give it a name, now that it’s your baby to take care of :)
Now that your starter is active and ready you will be able to use it over and over again, indefinitely! You can choose to continue feeding it daily if you plan to bake often, or you can put it in the fridge between bakes. Just pull it out the day before you want to use it, let it come to room temperature, feed it, and it will soon be ready to go!
I hope you enjoy baking sourdough bread as much as I do. Be sure to check out the recipe section for some easy recipes to get you started.
Happy Baking! xo Julie
Click on the links to see videos!!

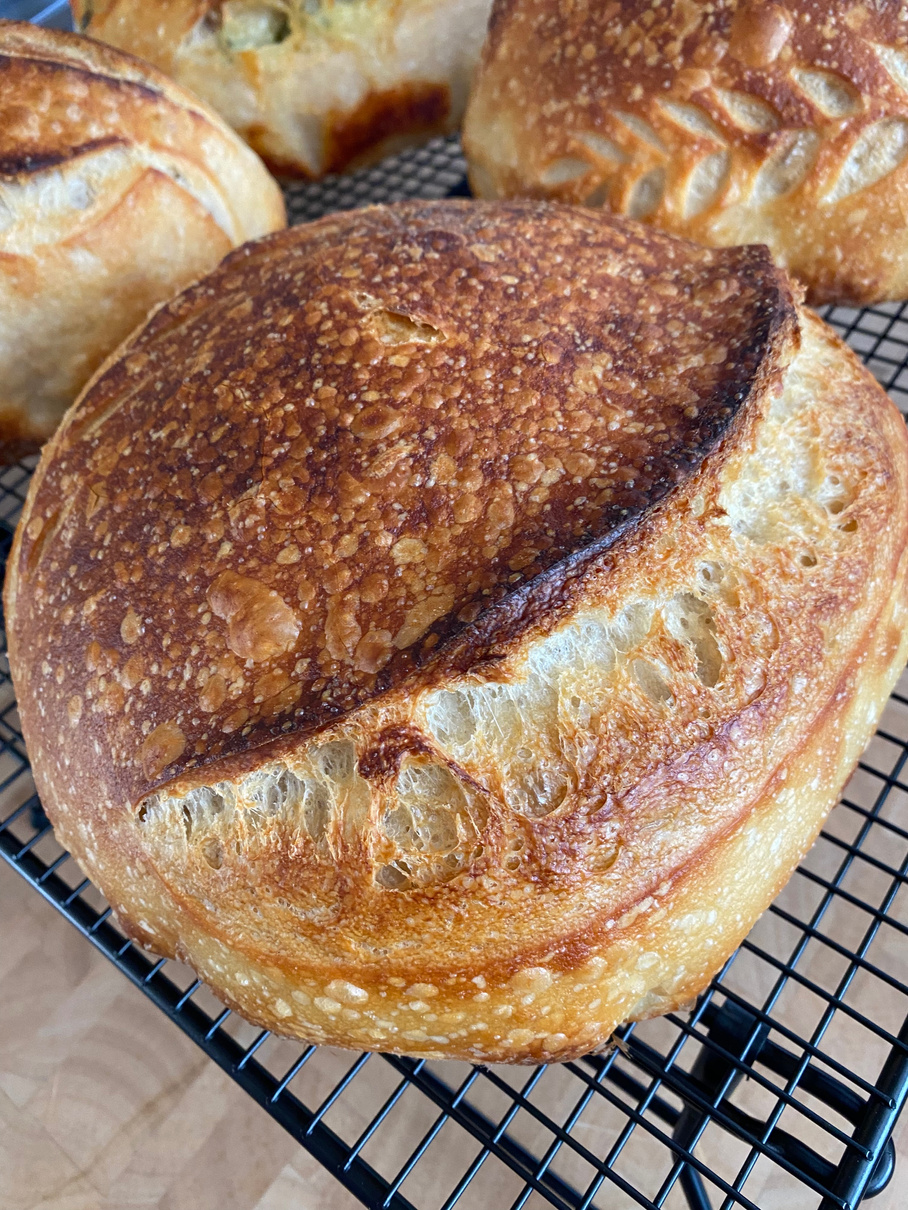
Beginner Sourdough Bread Recipe
Ingredients
- 500 grams Unbleached Bread Flour
- 350 grams Room Temperature Water
- 100 grams Sourdough Starter (at it’s peak)
- 10 grams Salt
Things you may need: Kitchen scale, Large bowl, Kitchen towel, Banneton, Plastic bag or Plastic wrap, Bread lame, Dutch oven
Method
1.Add Water and Sourdough Starter to a large bowl, whisk to combine. Then add Flour and Salt.
2. Mix everything together to form a loose, shaggy dough. Using wet hands is very effective for this step!
3. Cover the bowl with a damp kitchen towel and let rest for 30 minutes.
4. For the next two hours you are going to complete one set of stretch and folds every 30 minutes. For a total of 4 sets. To do the stretch and folds, first wet your hands, then grab one edge of the dough, lift, and stretch it up and over to the other side of the dough. Turn the bowl a 1/4 turn and repeat. Do this a total of 4 times so that all sides of the dough have been stretched. Then cover the bowl and let rest for 3o minutes. Repeat the stretch and folds every 30 minutes, for a total of 4 sets.
5.After the last set, cover your bowl with a damp kitchen towel and let the dough rest for 4 - 10 hours. This bulk fermentation time varies depending on the temperature and humidity. Your dough is done resting when you see bubbles on the top and sides of the dough, it has noticeably risen, and jiggles when you move the bowl.
6.Now it’s time to shape the dough. Turn the dough out onto a clean surface, using wet hands gently pat down dough to create a rectangular shape. Then pull up the bottom edge of the dough and fold it up to the middle. Repeat with the left and right sides, and top of the dough. Then roll the dough from the bottom all the way to the end of the dough, like rolling up a newspaper. Next, rotate the dough using both hands, dragging towards you to create tension and to form a smooth ball.
7. Lightly flour the top of the dough and transfer smooth side(top) down, into a floured banneton or floured towel lined bowl. Wrap your banneton/bowl in plastic wrap or tie in a plastic bag.. Refrigerate overnight, 12 - 18 hrs.
8. Time to Bake! Place your dutch oven with lid into your oven, then preheat at 450 degrees for 30 minutes. Once preheated, take dough out of the fridge and turn out onto a sheet of parchment paper. Score the top of your dough using a bread lame, sharp knife or scissors. You can search scoring online to see all the design options and techniques.
9.Carefully remove the dutch oven and take off lid. Lift the dough using the parchment paper and gently lower into the dutch oven. Replace the lid and return to the oven. Bake for 25 mins, then remove the lid and bake an additional 20 minutes.
10. Remove bread from dutch oven and place on a wire rack to cool.
Enjoy! You did it!
Send me all your bread pictures!


